If you have been following me and my tutorials for a while now, you probably must have figured am a huge fan of privacy. Yes, I appreciate privacy a lot. And not only does that apply to my life in general, it applies to my devices.
I am usually on the look out for more privacy tricks. The iOS operating system pretty much has that in handy.
Do you know you can actually give your iPhone or iPad to someone without being scared of them leaving a particular app? Or perhaps, your kids playing with other apps by accident.
This feature has been on the iOS platform for a while now. But I just got to know about it a couple of weeks back. See my life!
Anyway, it’s better late than never. I am quite sure i am not alone on this. I am pretty sure quite a handful of iPhone and iPad users do not know how this is done. Not to worry, that’s why you’ve got us ;).
A few weeks back, i disclosed some iPhone tricks to explore in 2017. You should really check that out if you use an iPhone or an iPad. There in, i talked about the guided access feature. I also disclosed how it can be activated. However, I felt it’d be nice to create a separate tutorial on the subject matter.
Table Of Contents
The Guided feature on iOS simply prevents a third party user from being able to leave a certain app. Or perhaps, to prevent unauthorized usage of apps on the iOS platform.
Have you ever given your phone to someone who asked to see your pictures and the next minute, they are on your message folder, social media apps or a different app? Usually not cool yeah? Well, that’s where the guided access feature on iOS comes in handy.
How To Activate On iPhone
It’s simple.
- Navigate to Settings
- Tap on General
- Next, tap on Accessibility
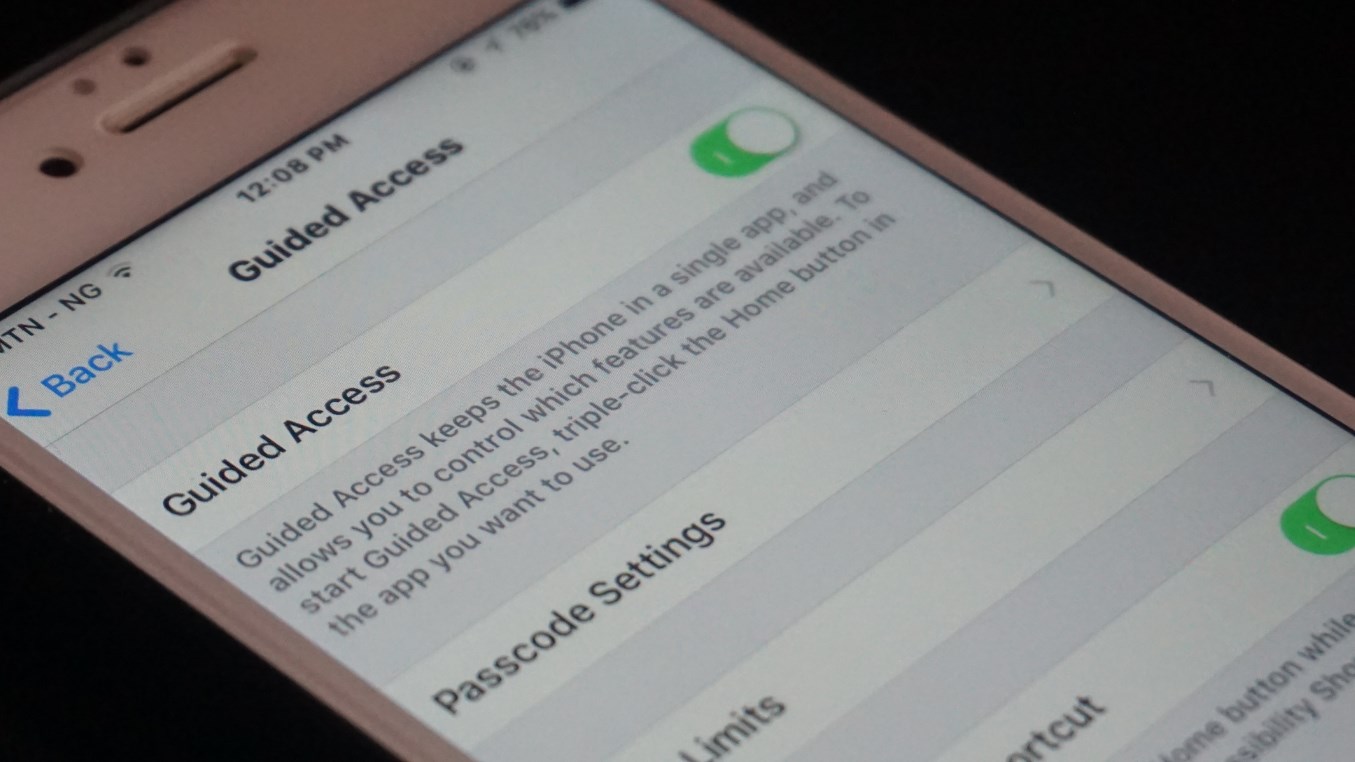
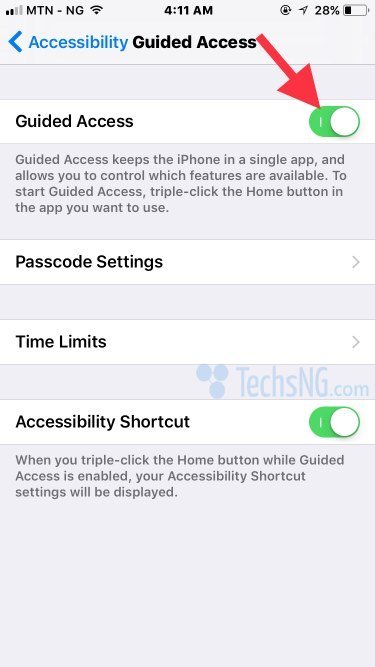
- Tap on Guided Access
- Turn the Guided feature ON.
- Thereafter, tap on password settings. Set up guided access password.
- If you have a fingerprint registered on the device, you should turn Touch ID feature ON.
If you are running iOS 11, you should consider adding the guided access feature to your control panel for easier activation.
To do this, navigate to Settings > Control Center > Customize Controls > include Guided Access among the controls.
If running an older version like iOS 10, you can add the option to your home quick options.
To get that done, go to Settings > General > Accessibility > Accessibility Shortcut.
Include or confirm that the Guided Access feature is ticked among the options. That way, triple-clicking on the home button will display Guided access among the quick options.
How To Activate On iPad?
The process is same. Nothing exactly different.
On an iPad,
- Go to Settings
- Tap on General
- Next, tap on Accessibility
- Then tap on Guided Access.
Feel free to play with the options.
So, there you have it. Your iPhone or iPad privacy options has been increased by a notch. You should check out the iOS Category for more related tutorials. Questions? Feel free to ask using the comment session.


")


 And Their Solutions")


 On Instagram – Complete Guide")
S,o Sjit Singh Bishangarh Patiala Dandrala Dhindsa punjab