First, shout out to Android app developers! These guys not only code apps, they make life much easier. In turn, they make us more lazy than we’ve ever been. Don’t blame me, I like the lazy lifestyle lol.
I mean, gone are the days when you need to appear in person before being able to fill and sign on forms. Lately, forms can be filled online and can be signed as well via the use of a computer.
Thankfully, you do not need necessarily need a computer for such functions anymore. Thanks to utility apps like SignNow.

Most banks these days, have forms for various requests online. This mean, you don’t need to visit the bank’s outlet every time. Especially for simple issues.
For example, GTBank’s notification form is available online. You could download, fill out and send to the respective email address(es).
Interestingly, you don’t need a computer for this. You could do everything right from your phone with the use of apps like SignNow and what for? More free!
Table Of Contents
Getting Started With SignNow On iOS
SignNow is available for download on the App Store. Just download, launch and you are on your way to getting more ‘close and personal‘ with your phone.
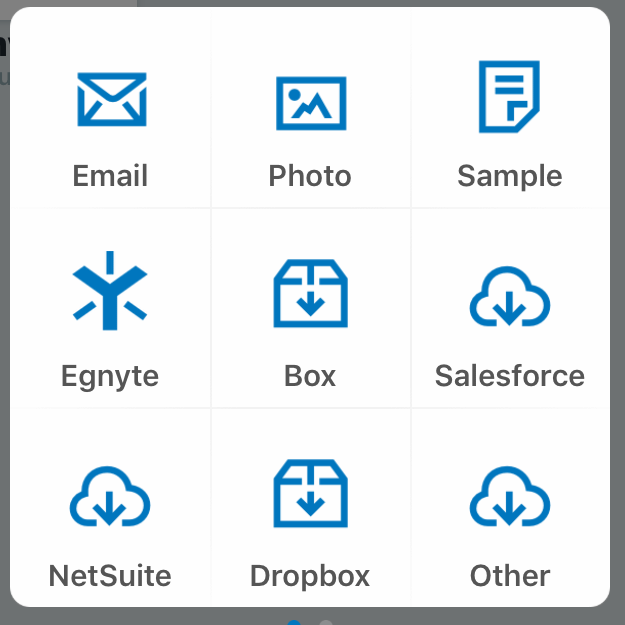
Upon launching the app for the first time, everything is self-explanatory. You are required to either create an account or log in. When you’ve past that, and tap on the + icon located at the top right side of the page, there are options like Email, Photo, Sample, Egnyte, Box, Salesforce, NetSuite, Dropbox, Other and Camera.

Some of these options are safe explanatory. The email option allows you import a document from an email address.
The photo option allows you select photos from your gallery. This could be handy if you have a picture document saved to your gallery. Or perhaps, you need to attach a passport to a document.
The sample option typically displays a sample copy of a document. Therein, you can add a signature, text, check mark and another signature space.
As for Egnyte, I haven’t exactly figured out how that option works. The Box option allows you synchronize the Signnow app with your box account. Thereafter, you should be able to retrieve documents from your box account and also save documents in it.
Salesforce is another option I haven’t been able to figure out how it works. Same applies for Netsuite.
Dropbox works in same manner as box. The other option typically allows you check into your iCloud drive. The camera option allows you take pictures of a form and then fill on the App. Pretty awesome, huh?
How To add Signature, Text, and Check Mark into Forms Using SignNow iOS App
Adding signature, text and check marks into form via the signnow iOS app is pretty seamless. It’s as easy as importing a document, tapping on the screen and choosing an option. That simple!
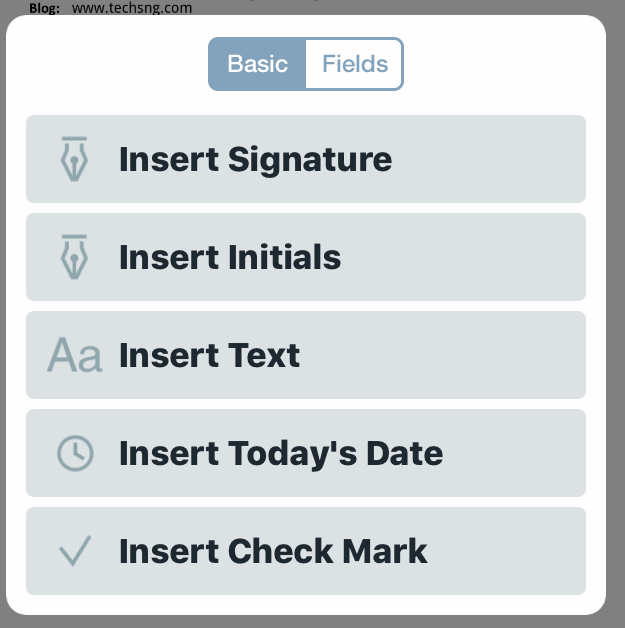
The options available are Insert Signature, Insert Initials, Insert Text, Insert Today’s date and insert check mark. Really handy, yeah?

Not to worry, you can always choose to remove whatever you’ve added to the document if you feel you made a mistake. Other that those basic inscriptions, you can add fields to documents.
When done with the document, you can simply tap on the check mark button located at the top right side of the page. Thereafter, choose the Open in option and choose the emailing service you use. You should know your way from there.
Editing An Already Saved Document
Achieving this is also easy. Simply launch the app and tap on the document you’d like to edit.
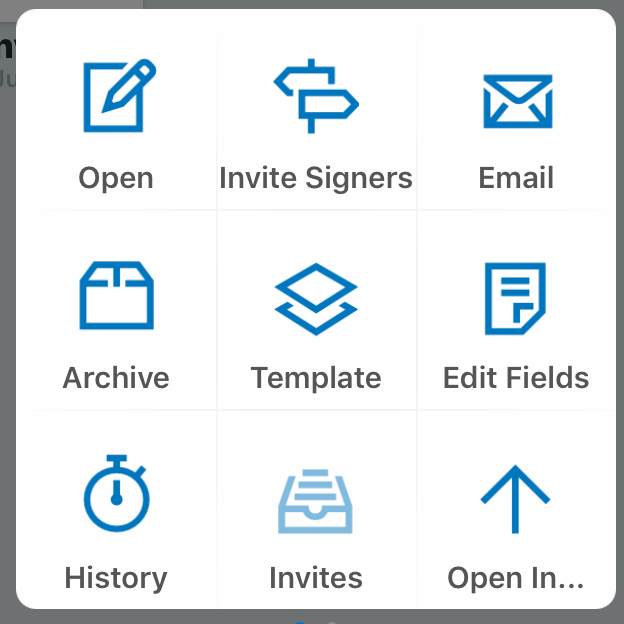
Upon tapping, you are gonna be displayed the following options: Open, Invite Signers, Email, Archive, Template, Edit fields, History, invites, Open in, Egnyte, Box, Salesforce, Netsuite, Dropbox, Other, Print, Delete.

These options, I believe, are self-explanatory.
Open: This typically allows you open the document and make edits wherever necessary.
Invite Signers: This typically allows you forward the document to emails of people you’d like to sign the document.
Email: This allows you send the document to an email address of a recipient right from the app itself.
Archive: This is pretty simple. The achieve option allows you achieve the document. You can recover the document from the achieve tab on the menu option.
Template: This option allows you save the document as a template. Possibly for subsequent documents.
Edit Field: This is same option as being able to add fields to the document. Not only can you add, you can edit the field.
History: This basically gives you an insight as to how the document has transformed over time as a result of alterations and processes.
Open in: This option typically allows you open the document in available other apps.
I have talked about Egnyte, Box, Salesforce, Netsuite, dropbox, other above. Nothing changed.
Print: The print option allows you print the document to any printer connected to the device.
Delete: Do I need to talk on how the delete option works? Oya, delete means delete the document. Happy now?
So far, SignNow has been awesome. The downside however, is the price for its premium features.
At $6.99 and $59.99 for the monthly and yearly plan respectively, for me, is pretty pricey. However, for a basic user, using the SignNow app for free should keep you going.


